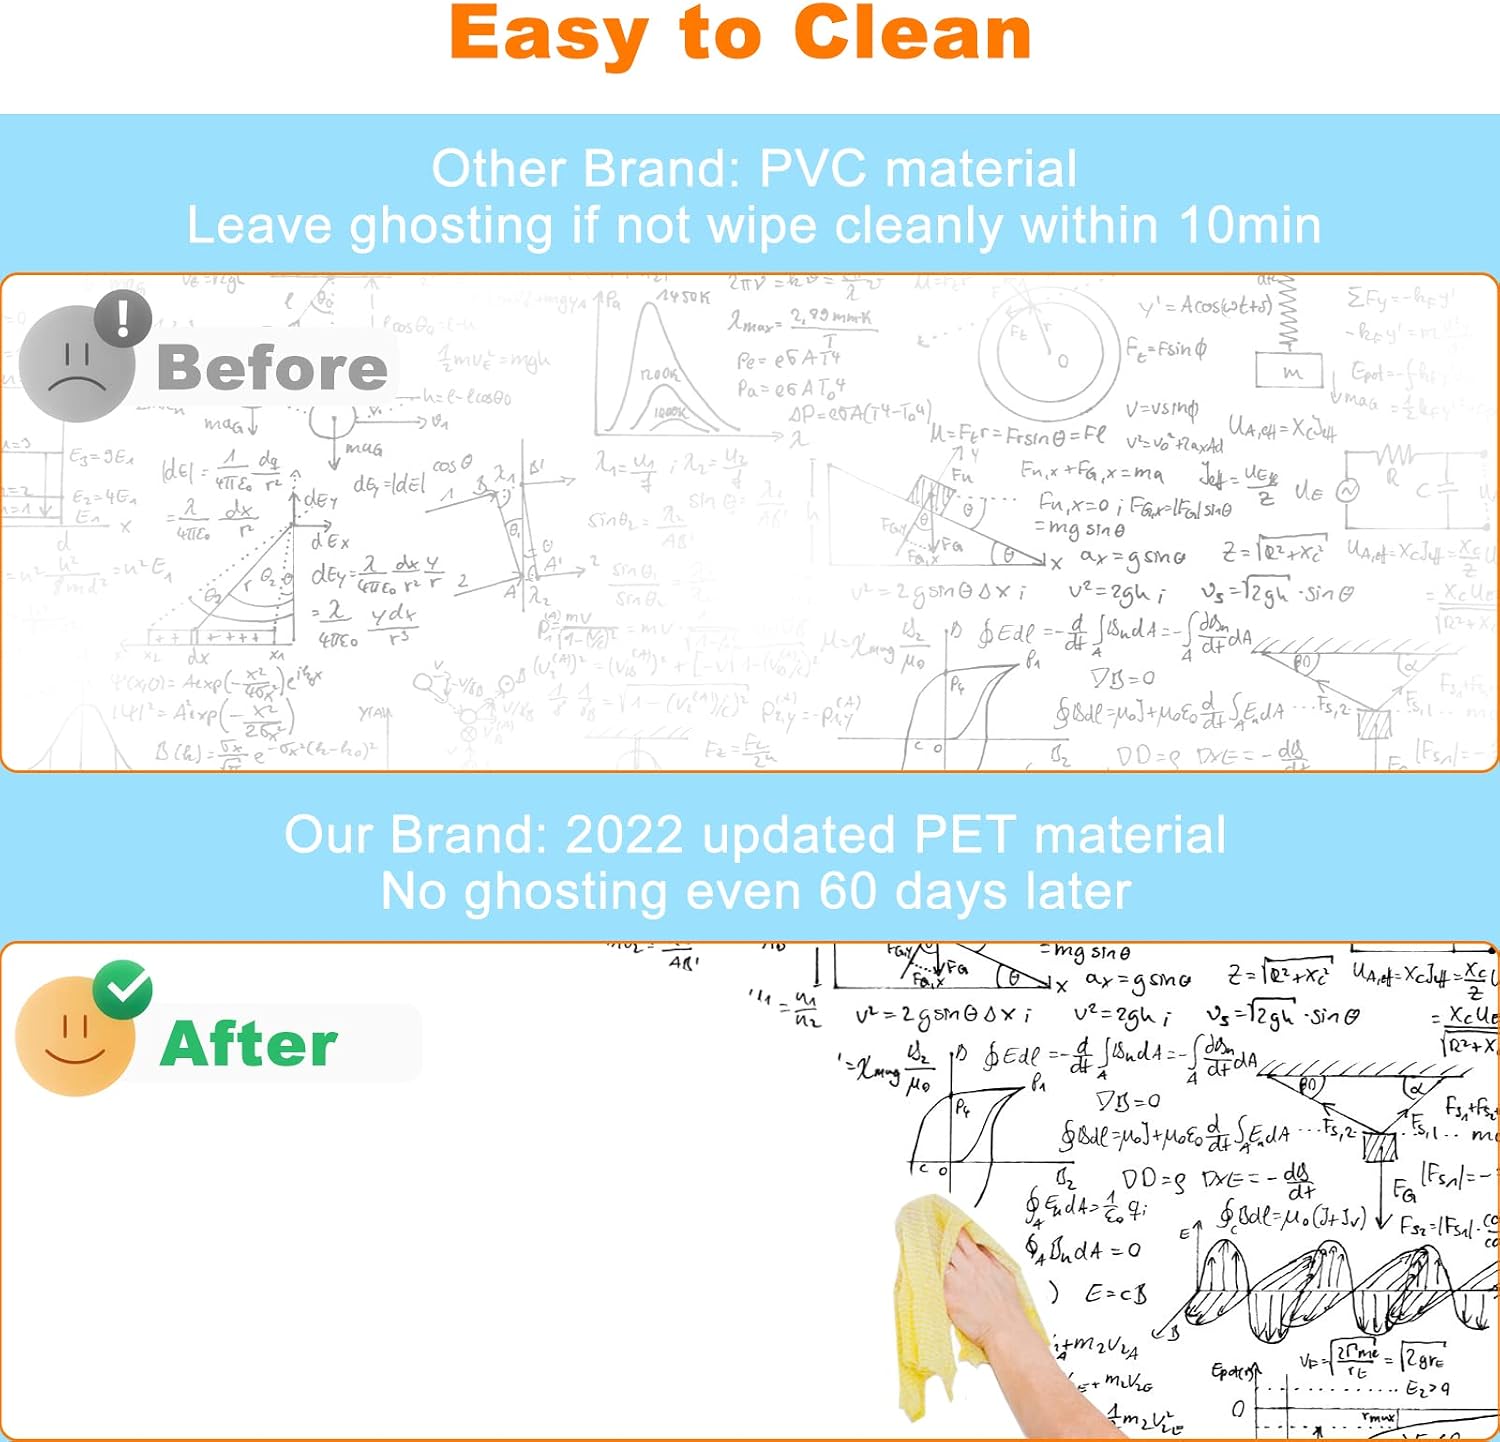
Imagine being able to write on your walls — reminders, schedules, sketches — and then wipe it all clean like a whiteboard at the end of the day. That’s exactly what functional wallpapers promise. “Dry-erase wallpaper” (paper or film-backed wall coverings coated with a smooth, non-porous surface that accepts dry-erase markers and releases them cleanly) and “whiteboard wallpaper” (a denser, more rigid version of the same idea) have moved from novelty to legitimate design tool. You’ll find them in home offices, kids’ rooms, commercial interiors, and studio spaces. But the category has a real performance gap — some products deliver a clean, ghost-free erase for years; others leave faint marker residue after the first week. This guide gives you the decision framework to land on the right product for your specific wall, your use case, and your budget.
What “Functional Wallpaper” Actually Means (and What It Doesn’t)
Functional wallpaper is an umbrella term for wall coverings whose value is in what you can do with the surface — not just how it looks. The three most common types in this category are:
- Dry-erase wallpaper: A flexible vinyl or film product with a smooth, coated face. Accepts standard dry-erase markers. Typically sold in rolls, applied like peel-and-stick or paste-the-wall wallpaper. Surface hardness is moderate.
- Whiteboard wallpaper (or whiteboard film): A stiffer version, sometimes with a harder lacquer or steel-backed magnetic layer. Designed to behave closer to a traditional mounted whiteboard. More resistant to ghosting (the faint residue left when ink doesn’t erase completely).
- Magnetic wallpaper: A ferromagnetic layer behind a decorative face, allowing magnets to hold things to the wall. Often sold as a primer layer that pairs with a dry-erase surface on top — so you get both functions.
These are distinct from chalkboard paint or chalkboard wallpaper, which accept chalk instead of markers and have completely different surface chemistry.
What this category is not: a direct substitute for a mounted glass or porcelain whiteboard in a heavy-use conference room. Glass and porcelain surfaces outperform coated films in long-term ghosting resistance, according to published product comparisons on Wallpaper Direct’s specialty wallcovering overview. If someone is standing at a wall writing and erasing eight hours a day, a film product will show wear in 12–18 months. For lighter use — brainstorming walls, to-do boards, kids’ creativity corners, occasional markup walls in a design studio — a quality wallpaper product is genuinely capable.
The Performance Variables That Actually Matter
This is where practitioners need to slow down. Reviewers at The Spruce note that most buyer disappointment in this category traces to three mismatches, not to inherently bad products:
1. Surface Prep and Wall Flatness
Dry-erase and whiteboard wallpapers are merciless about what’s underneath them. A smooth, clean, primed surface (drywall with a level-5 finish — meaning sanded to near-perfect flatness — or skim-coated plaster) gives you a film that lies dead flat and erases cleanly. Textured walls, orange-peel surfaces, or walls with patched areas telegraph every imperfection through the film, and those texture peaks become ink-holding traps that resist the eraser. This is the single most common reason a product “doesn’t erase cleanly” in user reviews.
Apartment Therapy’s coverage of writable walls is consistent on this point: the wall prep is frequently the limiting factor, not the product itself. Budget accordingly — if your walls need skim coating, that labor cost is part of the functional wallpaper project.
2. Marker Chemistry Matters More Than You’d Expect
Not all dry-erase markers behave the same way on film surfaces. Standard low-odor office markers (the kind with alcohol-based ink) erase cleanly within a normal timeframe — typically within a few hours to a day of writing. Chisel-tip markers left on film overnight begin to set and may require a damp cloth plus erasure. Permanent markers (obviously) are a different category, but some off-brand “dry-erase” markers have ink formulations that behave closer to permanent on film substrates than they do on glass. Manufacturers including ReMARKable and IdeaPaint recommend specific marker brands in their installation documentation — follow those specs, not your office supply drawer.
3. Seams and Coverage Math
Dry-erase wallpaper typically comes in rolls 24–48 inches wide. If your writable wall is wider than one roll, you’ll have seams. On a decorative wallpaper, a well-matched seam is nearly invisible. On a flat white functional surface where people are literally looking at it as a writing surface, a raised seam is noticeable and catches marker tips. Practitioners should spec single-roll coverage to a single unbroken wall panel wherever possible, or plan seam placement at logical breaks (room corners, flanking a window). This isn’t a flaw in the product — it’s geometry you need to design around.
By the numbers:
- Standard dry-erase wallpaper rolls: 24”–48” wide, 5–15 linear feet per roll
- Price range: $3–$12 per square foot installed, depending on product tier and labor
- Ghosting onset (light use): typically 18–36 months on quality film; 6–12 months on budget film
- Wall prep (skim coat, if needed): $1–$4 per square foot additional, per contractor estimates current to early 2026
Product Tiers: Where to Spend and Where to Save
Budget Tier ($3–$5/sq ft installed): Peel-and-Stick Dry-Erase Film
Brands like Con-Tact and Quartet offer peel-and-stick dry-erase films primarily aimed at renters and parents of young children. The upside: zero professional installation required, rental-safe removal (in most cases — test a small corner first), and low commitment. The downside: seams are harder to minimize on wide walls, the surface is thinner and more prone to lifting at edges in humid rooms, and ghosting shows up faster under heavy use. This tier makes genuine sense for a single-panel accent application — a 24” × 36” patch on a mudroom wall for family notes, or a dorm room study corner.
For this tier, our top pick is the Quartet dry-erase wallpaper film, which reviewers on aggregated retail platforms consistently rate above competitors for edge adhesion and erase clarity over the first 12 months.
Mid-Tier ($5–$8/sq ft installed): Paste-the-Wall Dry-Erase Wallpaper
This is the practitioner’s sweet spot for most residential and light-commercial jobs. Brands including ReMARKable (which publishes detailed substrate and marker compatibility specs) offer paste-the-wall products with a harder lacquer face coat, better seam minimization due to wider roll widths, and manufacturer-rated dry-erase lifespans of 5–10 years under normal use. Dezeen’s coverage of functional wall surfaces in contemporary office design specifically identifies this tier as the one gaining traction in boutique workplace and home-studio contexts.
Installation requires a professional, or a very confident DIYer who has hung paste-the-wall papers before. The surface is less forgiving of bubbles than decorative papers — bubbles become visible writing-surface texture.
High-Performance Tier ($8–$12/sq ft installed): Magnetic-Dry-Erase Combination Systems
If you or your client wants both writable and magnetic functionality, you’re looking at a layered installation: a ferromagnetic base wallpaper (sometimes called “magnetic plaster” in European spec sheets, though in the U.S. market it’s more commonly a vinyl magnetic layer) topped with a dry-erase surface film. Architectural Digest’s coverage of smart walls in residential design cites this combination as increasingly requested in home offices and design studios where pinning reference material and markup writing need to coexist.
The math here gets real fast: magnetic base layer + dry-erase surface layer + professional installation typically lands at $10–$15 per square foot all-in for a standard 10’ × 10’ wall. For a 100 square foot wall, you’re at $1,000–$1,500 before any skim-coat prep. That’s a legitimate line item for a home office renovation but probably not a spontaneous weekend project.
Installation Decisions: DIY vs. Pro, and When the Line Is Clear
The honest practitioner’s decision tree looks like this:
If the wall is already level-5 smooth and the product is peel-and-stick: competent DIY is reasonable. Watch your seams, overlap slightly and trim with a sharp blade against a metal ruler, and use a squeegee not your hand for bubble removal.
If the wall needs prep OR the product is paste-the-wall: hire a professional installer. A bad paste-the-wall installation on a flat white surface looks dramatically worse than a bad installation on a patterned decorative paper — there’s nowhere to hide misalignment, bubbles, or paste bleed.
If you’re doing the magnetic + dry-erase combination: this is a two-trade job in many cases (the magnetic layer behaves more like a specialty coating than a standard wallpaper). Vet your installer’s experience with the specific product system, not just wallpaper generally.
Wallpaper Direct’s specialty wallcovering guidance notes that functional wallpapers represent a category where manufacturer installation documentation is unusually important — these products have specific cure times, adhesive requirements, and conditioning periods before use that decorative papers don’t. Most dry-erase surfaces require 48–72 hours after installation before writing, and a “seasoning” pass — writing over the entire surface with dry-erase marker and erasing it before real use — that primes the coating and reduces early ghosting. Skipping this step is the second most common source of early user disappointment.
The Decision Rule
If you’re speccing functional wallpaper for a client or selecting it for your own space, run through this filter before you commit:
- Wall condition smooth and prep-free? → Peel-and-stick tier is viable. Start with a sample (always order a sample — the surface texture is something you need to feel before committing to a full wall).
- Wall needs skim coat or prep? → You’re in professional installation territory. Price that in from day one. The product cost is often the smaller line item.
- Light use (a few times a week, erased promptly)? → Mid-tier paste-the-wall products from established brands will serve you for years.
- Heavy daily use (design studio, kids’ daily drawing)? → Step up to the high-performance lacquer systems, spec the correct markers, and build seam placement into the design.
- Need magnets too? → Budget the layered system and set the client’s expectations on cost realistically before they fall in love with the concept.
Functional wallpaper works. The category has matured enough that the products in the mid-to-high tier genuinely deliver on their promises. The failures almost always trace back to wall prep shortcuts, wrong markers, or a budget product pushed into a heavy-use context it wasn’t designed for. Nail those three variables, and a writable wall is one of the more satisfying functional upgrades a space can get.