There’s a peculiar irony in wallpaper: you can spend $600 a roll on a hand-printed de Gournay panel and still end up with visible seams, air bubbles trapped beneath the surface, or a lifted edge in the corner — not because the paper was wrong, but because the tools used to install it were. “Tools” here means the physical instruments used to press, smooth, flatten, and seal wallpaper to the wall during and after hanging: smoothers (wide, flat paddles or plastic blades that push out air and adhesive), seam rollers (narrow rollers that press the vertical joints between strips together), and the various scissors, levels, and sponges that round out a complete kit. These aren’t glamorous purchases. But they’re the difference between a result that looks magazine-ready and one that has you back on the phone with your installer six weeks later. Whether you’re a designer spec-ing a high-end linen-weave grasscloth or a first-time renter applying peel-and-stick in a studio apartment, this guide names the tools worth buying, explains the tradeoffs, and tells you plainly what to skip.
| EDITOR'S PICK15pcs Wallpaper Tools Kit | Mid-tierRoman’s E-Z Hang Peel & Stick W… | Budget pick[tiptopcarbon Wallpaper Kit Wall…](https://www.amazon.com/dp/B07JQHC5W3?tag=greenflower20-20) | |
|---|---|---|---|
| Includes seam roller | ✓ | — | — |
| Includes squeegee | ✓ | — | — |
| Includes adhesive brush | ✓ | — | — |
| Size | 15pcs kit | 32 oz | 01 basic kit |
| Price | $23.99 | $12.49 | $5.98 |
| See on Amazon → | See on Amazon → | See on Amazon → |
The Core Kit: What You Actually Need
Let’s build from the ground up. Before a single strip goes on the wall, you need a short list of non-negotiables. According to Wallpaper Direct’s step-by-step hanging guide, the fundamental toolkit breaks down into three categories: measuring and marking, cutting, and application. We’re going to focus on the application side — specifically the tools that happen at the wall — because that’s where most DIY and even semi-pro installs go wrong.
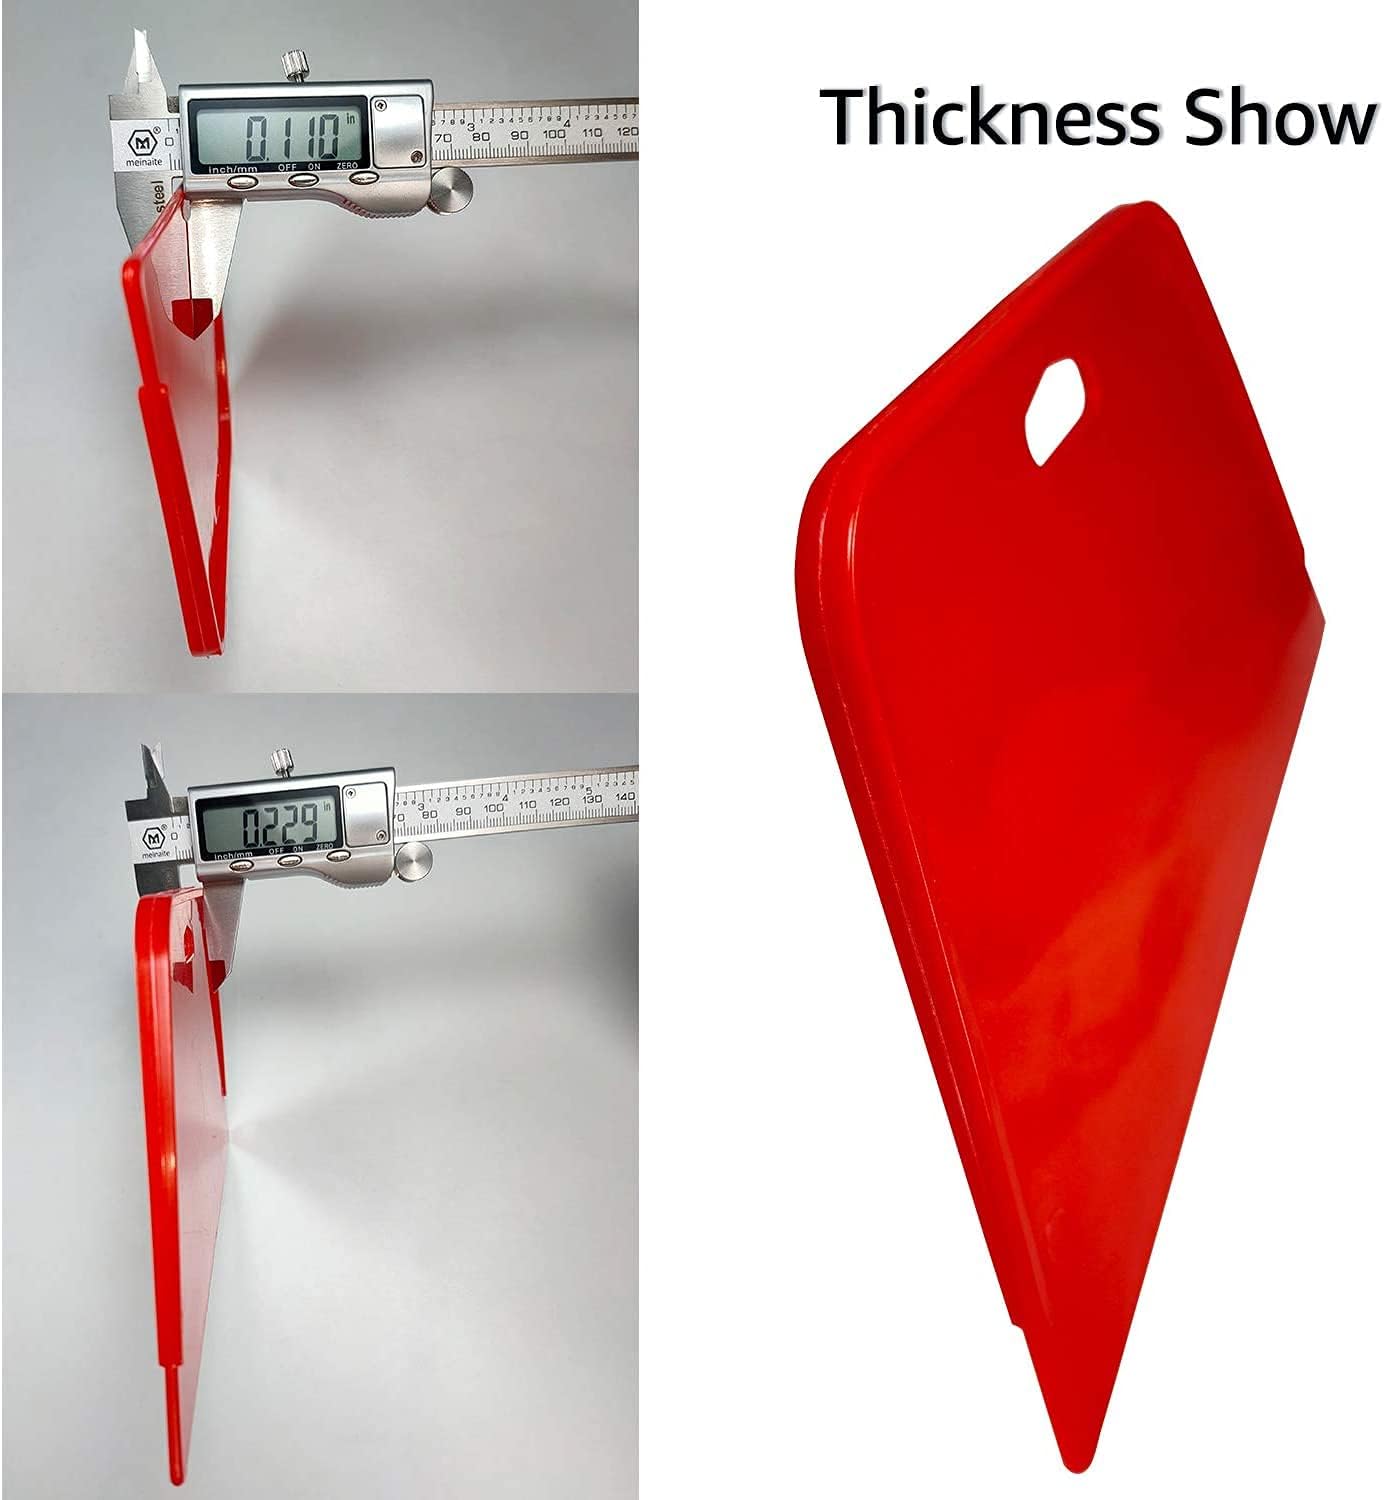
Wallpaper smoother (broad knife or plastic smoother): This is the single most important tool in the kit. A smoother — sometimes sold as a wallpaper brush, a broad knife, or a plastic smoother depending on its material — is used to push air bubbles and excess adhesive out from behind the paper as each strip is applied to the wall. The motion is always from center outward and downward, working methodically so that air has somewhere to escape. Reviewers and professional installers consistently distinguish between two subtypes:
- Plastic smoothers: Firm, flexible, and easy to clean. These work well on most vinyl-coated wallpapers and peel-and-stick materials. Reviewers on trade forums frequently note that plastic smoothers are less likely to stretch or distort thinner papers than a stiff brush.
- Wallpaper hanging brushes (felt or bristle): These are softer and better suited to delicate papers — hand-printed, embossed, or fabric-backed — where a hard plastic edge could leave a mark or crease. As Architectural Digest’s hanging guide notes, a brush distributes pressure more gently, which matters when you’re working with textured or painterly surfaces.
By the Numbers:
- Plastic smoother: $6–$18 retail
- Professional wallpaper brush: $20–$55
- Seam roller: $8–$25
- Complete entry-level kit (smoother + roller + sponge + level): $25–$45
Seam roller: This is the second critical tool, and it’s distinct from the smoother. A seam roller is a narrow cylinder (usually 1–3 inches wide) mounted on a short handle, used specifically to press the vertical joint — the “seam” — where two strips of wallpaper meet edge-to-edge. The goal is a tight, invisible seam that won’t lift or gap as the adhesive cures. The Spruce’s wallpaper tools overview makes a point that’s worth repeating here: the seam roller is used after the smoother, not instead of it. First you smooth the whole strip flat; then you go back to the seam with the roller.
One critical caveat: do not use a seam roller on embossed, textured, or grasscloth-style wallpapers. The roller flattens texture under pressure, permanently crushing the raised pattern at the seam. On these materials, a gentle finger-press or a soft cloth is all you should use. This is one of the most common and irreversible installation mistakes — per Architectural Digest’s guide, rolling an embossed seam is essentially a one-way door.
The Substrate Problem: Tools Vary by Wallpaper Type
“Substrate” is the industry word for the material the wallpaper is made from — the actual backing and surface layer. It’s load-bearing vocabulary here because your substrate almost entirely determines which tools you should and shouldn’t use.
Vinyl-coated and non-woven papers (the dominant mid-market category, covering most of what you’d find from Graham & Brown or York Wallcoverings in the $80–$200 range) are forgiving. They’re dimensionally stable — meaning they don’t stretch or shrink significantly when wet — and they accept both plastic smoothers and seam rollers without complaint. Apartment Therapy’s renter guide confirms that peel-and-stick papers, which are almost always vinyl-based, work best with firm plastic smoothers applied with steady, moderate pressure.
Grasscloth, jute, and natural fiber wallcoverings are a different story entirely. These are woven from plant fibers — seagrass, jute, bamboo, sisal — and they’re moisture-sensitive in both directions: too much water swells the fibers and permanently distorts the weave; too little and the adhesive won’t bond. The Spruce’s tools guide specifically warns against using water-saturated sponges on natural fiber papers for this reason. For smoothing, a dry hand or a barely damp soft cloth is the standard professional approach. Seam rollers, as noted above, should not touch these materials.
Hand-printed and luxury papers — think Schumacher, Fromental, or Calico Wallpaper in the $400–$900+ per roll tier — often specify installer tools and adhesives in their own product documentation. If you’re speccing these for a client, read that documentation before the install date, not on it. A misapplied seam roller on a $700-per-roll Fromental silk wallcovering isn’t a recoverable error.
Non-woven (fiberglass-reinforced) backing has become increasingly common in the mid-to-high market because it’s tear-resistant and allows “paste the wall” installation — meaning you apply adhesive to the wall surface rather than to the back of the paper. This changes the tool dynamic: you still need a smoother, but because the paper isn’t pre-soaked in paste, there’s less risk of stretching, and you have a longer working window to adjust placement.
What to Skip: Tools That Cause More Problems Than They Solve
This is where the practitioner perspective earns its keep. Knowing what not to buy is as valuable as knowing what to buy, and a few common missteps show up repeatedly in professional installer feedback.
Cheap foam rollers for smoothing: These seem logical — they’re soft, widely available, and used for plenty of other wall prep tasks. But foam rollers trap air rather than displacing it, and they don’t give you the directional control you need to move bubbles toward an edge. Reviewers across trade forums consistently flag foam rollers as a source of micro-bubbles that only become visible once the adhesive fully dries. Skip them entirely for wallpaper smoothing.
Metal seam rollers on delicate papers: Some seam rollers are sold with metal barrels rather than rubber or soft plastic. On standard vinyl papers, these are fine. On anything with a printed surface, an emboss, or a natural fiber content, a metal roller is too aggressive — owners report visible marks and crushed texture. Rubber-barreled seam rollers are the safer default purchase.
A single sponge doing all the jobs: Most kits include one sponge. In practice, you need at least two — one for applying or cleaning up adhesive, and a separate, clean one for wiping the face of the paper. Adhesive on the face of a patterned wallpaper, if not caught immediately, can dull the surface or, on some inks, pull color. This isn’t a tool problem so much as a workflow problem, but it costs about $3 to solve.
The “professional” kit at 4x the price: Major hardware retailers frequently merchandise complete “professional wallpaper kits” in the $80–$120 range. Based on what’s included, the premium is rarely justified for a single-room or occasional-install scenario. The Spruce’s overview notes that the actual professional tools that matter — a quality smoother and a reliable seam roller — can be sourced for under $40 combined. The rest of the kit markup is on items (specialty trays, oversized buckets) you either already own or can substitute.
If X, Then Y: A Decision Framework
The practitioner’s version of this topic ends with clear conditional logic. Here’s how to read your situation:
If you’re installing standard vinyl or non-woven wallpaper (including most peel-and-stick): A firm plastic smoother and a rubber seam roller are all you need beyond basic cutting and measuring tools. Total outlay: under $30. This covers the vast majority of mid-market installations.
If you’re working with grasscloth, jute, seagrass, or any natural fiber wallcovering: Replace the plastic smoother with a soft-bristle wallpaper brush, and do not use a seam roller at all. Budget an extra 20–30 minutes per room for the more careful smoothing process. The Wallpaper Direct hanging guide specifically recommends this adjustment for natural materials.
If you’re installing hand-printed, embossed, or luxury-tier wallpaper for a client: Read the manufacturer’s installation documentation before ordering tools. Many luxury brands — Phillip Jeffries and Élitis among them — specify adhesive types and approved tool categories in their technical sheets. Installing outside those specs can void any warranty and creates liability you don’t want on a $10,000+ project.
If you’re spec-ing for a trade installer rather than self-installing: Your job is to confirm that your installer owns the right tools for the specific substrate you’ve ordered, not just general wallpaper tools. A residential painter who hangs vinyl paper on weekends may not own a wallpaper brush or know the natural-fiber seam protocol. This conversation should happen before the material arrives, not the morning of.
One last point that applies universally: always order a physical sample before committing to a full purchase. This isn’t just about color — it’s about substrate. A sample tells you whether you’re dealing with a flexible vinyl or a more fragile hand-print that needs specialist handling. No tool kit compensates for discovering the wrong substrate on install day. Order the sample, handle it, and make your tool decisions from there.