Something has gone wrong with a wallpaper install — a seam (the vertical line where two strips of wallpaper meet edge to edge) has started to lift away from the wall, or you’ve inherited a room covered in three layers of vintage paper that needs to come off before you can start fresh. Both situations are fixable, but the fix depends entirely on picking the right product for the right problem. Use the wrong adhesive and you’ll get a lumpy seam that catches every raking light; use the wrong removal method and you’ll score the drywall beneath the paper and turn a half-day job into a skim-coat-and-prime nightmare. This guide maps every common seam failure and removal scenario to the product that addresses it — with the math, the tradeoffs, and the decision rules you need before you commit.
Why Seams Fail (and Why It Matters Which Kind of Failure You Have)
Before you reach for any product, you need to correctly diagnose the failure mode. Seam problems fall into three distinct categories, and the repair path diverges immediately after diagnosis.
Lifted edge seams happen when the outermost ½–¾ inch of a strip peels back from the wall. This is the most common failure and is almost always a paste starvation problem — either the original installer didn’t get adhesive close enough to the edge, or the paper dried too fast before it bonded. The Spruce’s guide on repairing wallpaper seams points out that this is especially common with pre-pasted papers that didn’t get enough water activation at the edges.
Gapping seams are different: the strips have separated so you can see the wall or the substrate (the surface the paper is adhered to — drywall, plaster, skim coat) through a visible crack between panels. This is usually a shrinkage issue — the paper contracted as it dried, especially common with natural fiber-backed papers like grasscloth or linen. You cannot simply push a gapping seam back together; the geometry has changed.
Bubbled or delaminating seams occur when the paper face has separated from its backing, or when moisture is trapped beneath the surface. Adhesive alone won’t fix this — you need to address the underlying cause first.
Getting this wrong is expensive. Applying seam repair adhesive to a gapping seam will hold the edges flat but won’t close the gap. Applying it to a bubbled seam without releasing the air or moisture first will result in a textured hump that’s worse than the original problem.
The Seam Repair Product Spectrum: What to Reach For
Seam Repair Adhesives
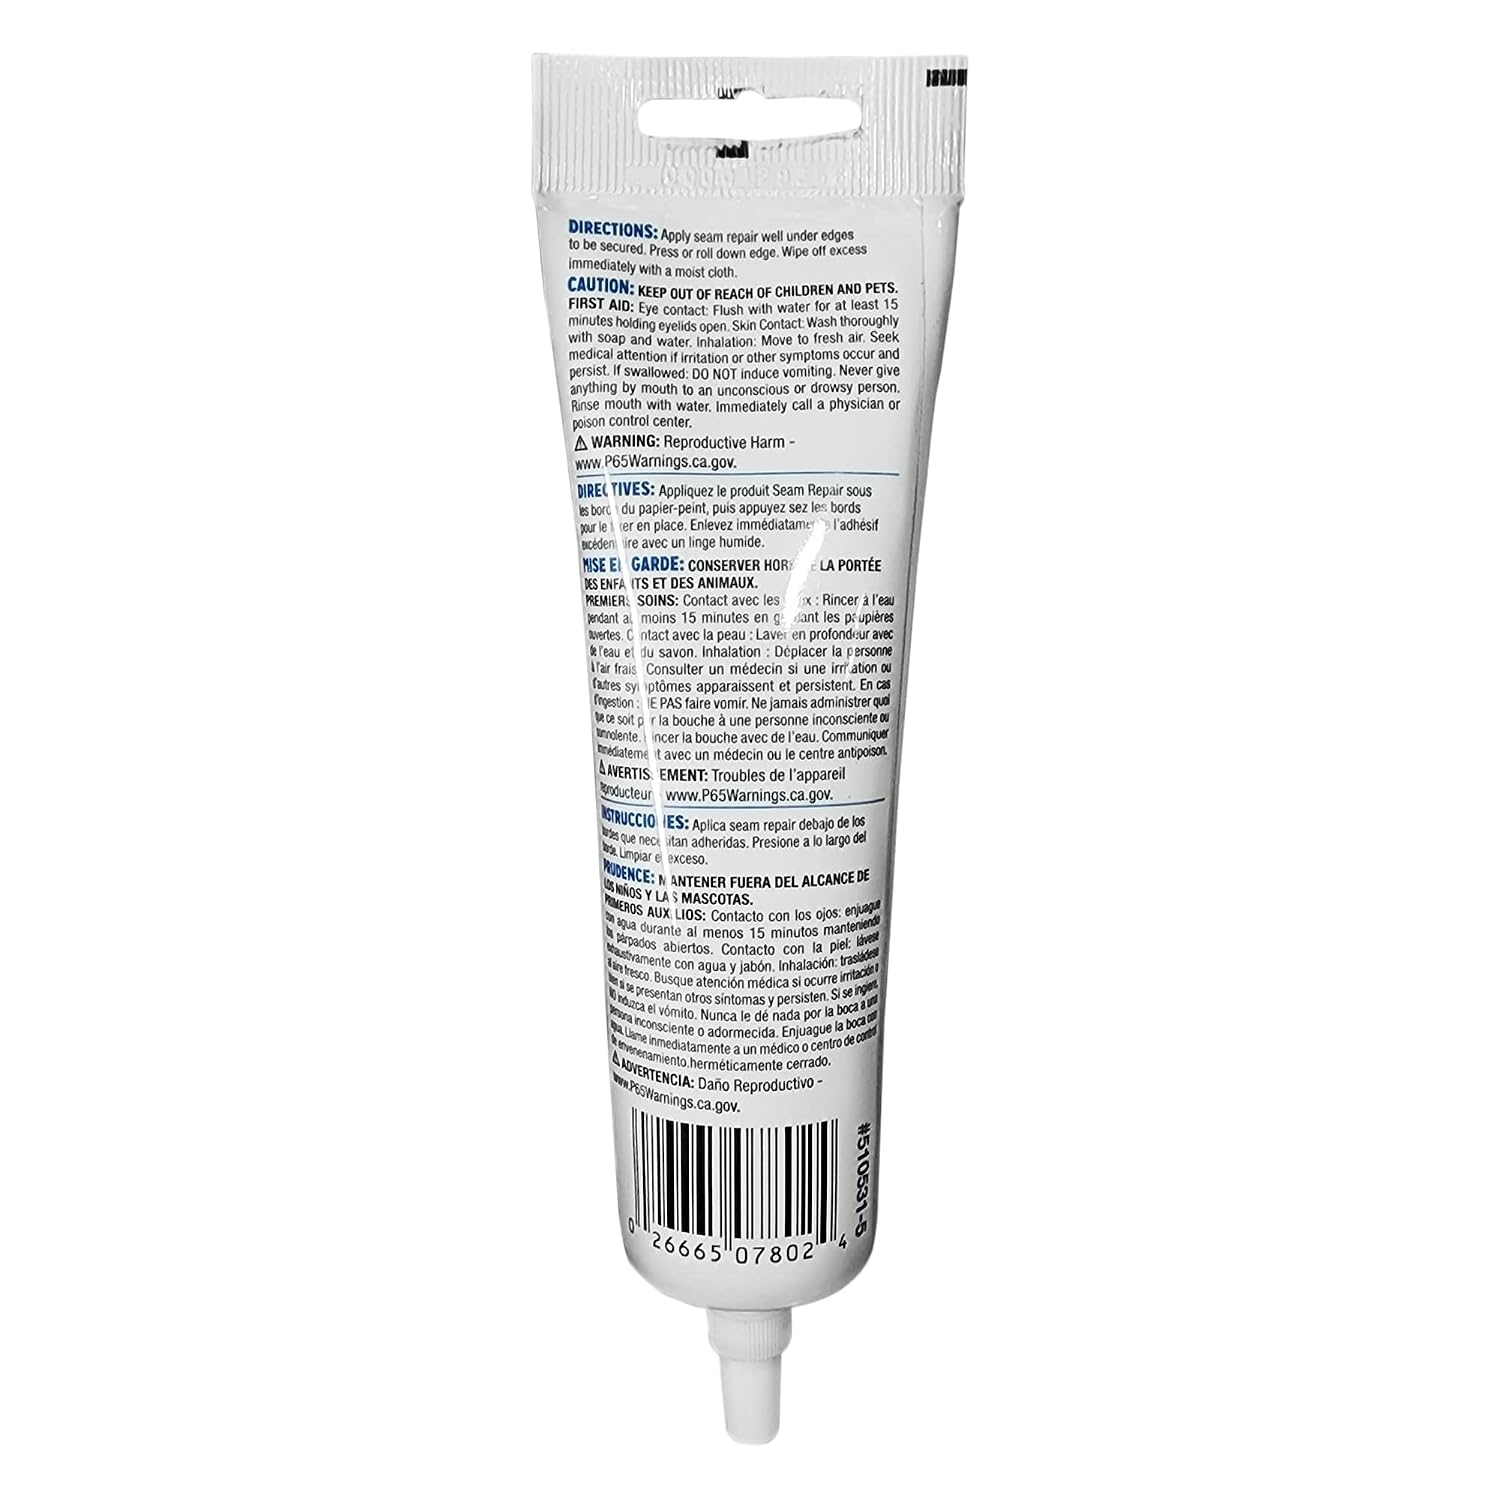
The workhorse for lifted-edge repairs is a dedicated seam repair adhesive — a thin, water-based formula that can be worked under a lifted edge with a small artist’s brush or a seam repair syringe applicator. The most widely recommended formulations across installer forums and professional trade publications are low-moisture by design, because flooding a lifted seam with high-water-content paste will cause the paper to over-expand and then pucker when it dries.
Roman Products GH-34 Seam Repair is the name that appears most consistently in professional installer discussions and in Architectural Digest’s coverage of professional wallpaper installation. It’s a starch-based formula with a thin consistency that lets you work it into a gap as narrow as 1–2mm without disturbing the paper face. Reviewers and installers consistently note that it dries clear without yellowing, which matters enormously on light-ground papers and sheers.
Metylan Overlap and Seam Adhesive (widely available through Wallpaper Direct and Burke Décor) is a synthetic-based alternative that owners report performs better on vinyl-coated and scrubbable papers, where starch adhesives can lose grip over time. If you’re repairing a commercial-weight or kitchen-grade wallcovering, this is the direction to go.
The syringe applicator question: Most pro installers keep a blunt-tip adhesive syringe in their kit specifically for seam repair. It lets you deposit adhesive precisely under the lifted edge without getting paste on the paper face — which matters on textured surfaces like grasscloth where you cannot wipe off excess without damaging the fibers.
Seam Rollers and Pressure Tools
Adhesive alone isn’t enough. You need even pressure across the repair while the adhesive sets, or you’ll get micro-ridges at the edge. A seam roller — a small hard rubber or plastic roller, roughly 1.5 inches wide — is the standard tool. The key distinction: hard rubber rollers are for smooth papers; soft rubber rollers are for textured surfaces. Rolling a grasscloth or embossed paper with a hard roller will permanently flatten the texture.
A damp cloth and a plastic putty knife used as a straight-edge backing (held lightly against the wall while you roll) help keep the seam perfectly flush. Apartment Therapy’s wallpaper removal and repair coverage emphasizes this detail: the most common DIY seam repair failure is applying adhesive correctly but then pressing by hand rather than rolling, which leaves uneven pressure and visible ridge lines once the light rakes across the wall.
Wallpaper Removal: Matching the Product to the Wall
Removal is where the real cost risk lives. The wall surface beneath the wallpaper determines everything — and the most important variable is whether your drywall was properly primed and sized (coated with a wallpaper-specific primer) before the paper went up. Wallpaper Direct’s removal guide is explicit on this point: unprimed or improperly primed drywall is extremely vulnerable to water damage during removal, and the paper removal process can tear the drywall’s paper facing off in chunks.
By the numbers:
- Properly primed drywall: steam or chemical remover, 1–2 hours per average room
- Unprimed drywall: dry-strip first, minimum moisture, budget 50–100% more time
- Plaster walls: most forgiving substrate; standard remover solutions are safe
- Skim-coated drywall: treat like unprimed; skim coats are thin and vulnerable
Fabric Softener Solutions vs. Enzyme-Based Removers
The traditional DIY approach — fabric softener diluted in warm water — works on single-layer, older paste-hung papers but has real limits. The surfactant (soap-like compound) in fabric softener helps break surface tension and lets water penetrate the paper backing, but it has no enzymatic action against dried starch-based adhesives. Per Apartment Therapy’s reporting on common removal mistakes, fabric softener solutions often leave a residue that interferes with new primer adhesion if walls aren’t thoroughly rinsed.
Enzyme-based removers — DIF by Zinsser is the category benchmark — use active enzymes that specifically break down starch and cellulose-based adhesives. Installers in long-run trade reviews consistently report that DIF cuts working time by 30–50% on stubborn multi-layer installations compared to fabric softener solutions. The tradeoff: DIF costs roughly $12–$18 per concentrate bottle versus near-zero cost for fabric softener, and it requires the same cautious application to avoid over-wetting drywall. This is our top pick for the budget if you’re dealing with anything more than one layer of modern pre-pasted paper.
Steamer units are the heavy-equipment option. Rental steamers (typically $40–$70/day from hardware rental shops) soften adhesive quickly and work well on plaster or properly primed walls — but Wallpaper Direct’s step-by-step guide specifically flags that steam is the highest-risk method for unprimed drywall. The concentrated moisture can soak through to the paper face of the drywall faster than you expect, and the resulting bubbling and delamination can require full skim-coat repair before repainting or repapering.
Scoring Tools: Use With Extreme Caution
A scoring tool (a device that perforates the wallpaper surface with tiny holes to allow water or remover to penetrate) is widely sold and widely misused. The logic makes sense: perforate the surface, remover gets in, adhesive softens, paper strips cleanly. The problem is depth control. Aggressive scoring — multiple passes, heavy pressure — on drywall will score the drywall face itself, leaving a texture that telegraphs through new wallpaper or requires skim-coating to address. Architectural Digest’s professional installation coverage notes that many experienced installers skip scoring entirely on drywall and rely on extended soak time instead.
If you do score, the Paper Tiger (a rolling scorer with fixed-depth perforating wheels) is the name reviewers consistently single out for controlled, drywall-safer perforation. Even so: one pass, light pressure, on drywall. Score aggressively only on plaster.
Repair After Removal: The Overlooked Half of the Problem
This is where projects unravel in the final stretch. After the paper is off, walls almost always need work before they’re ready for new wallcovering. Small tears in drywall facing, adhesive residue, and uneven texture are the three most common issues. The sequence matters:
-
Adhesive residue removal: Remaining adhesive must come off completely. TSP substitute (trisodium phosphate substitute, a heavy-duty cleaner available at any hardware store) diluted per label instructions cuts adhesive residue effectively. Rinse thoroughly. Skipping this step means your new primer won’t bond uniformly.
-
Surface repair: Lightweight spackle (a pre-mixed patching compound) for small tears and divots. Skim coat (a very thin layer of joint compound) for widespread surface damage. Sand when dry.
-
Prime before you repaper: A wallpaper-specific primer — Zinsser Gardz for damaged drywall, Roman Pro-977 Ultra Prime for sound walls — is non-negotiable. The Spruce’s seam repair coverage and Wallpaper Direct both make this point explicitly: hanging new paper over bare or paint-primed drywall is one of the top causes of the buyer regret we hear about most — paper that can’t be removed later without destroying the wall.
If X, Then Y: The Decision Rules
You’ve read the options. Here’s the framework:
-
If the seam is lifted (edge peeling, no gap): Roman GH-34 or Metylan Overlap with a blunt-tip syringe, seam roller with appropriate hardness for your paper type. Budget under $30 in materials.
-
If the seam is gapping: Repair adhesive won’t close the gap. Your options are color-matched touch-up paint to minimize visibility, or professional re-hang of the affected strips. Get a quote before you invest more in adhesive products.
-
If you’re removing from plaster walls: Enzyme remover or steam; either method is relatively safe. DIF is our top pick for that budget.
-
If you’re removing from drywall and don’t know if it was primed: Assume it wasn’t. Dry-strip first, apply enzyme remover with minimal saturation, skip the steamer.
-
If the wall surface is damaged after removal: Don’t skip the skim coat and primer sequence. The $40–$80 in materials and a half-day of prep work is the difference between a successful new installation and a seam-failure repeat six months from now.
Every one of these scenarios starts with a physical sample of your new wallpaper — because the substrate prep, the adhesive type, and the removal method all change depending on whether you’re rehanging a lightweight peel-and-stick, a pre-pasted mid-range paper, or a $600-per-roll hand-printed specialty wallcovering. Know what’s going back on the wall before you commit to how you’re taking the old paper off.