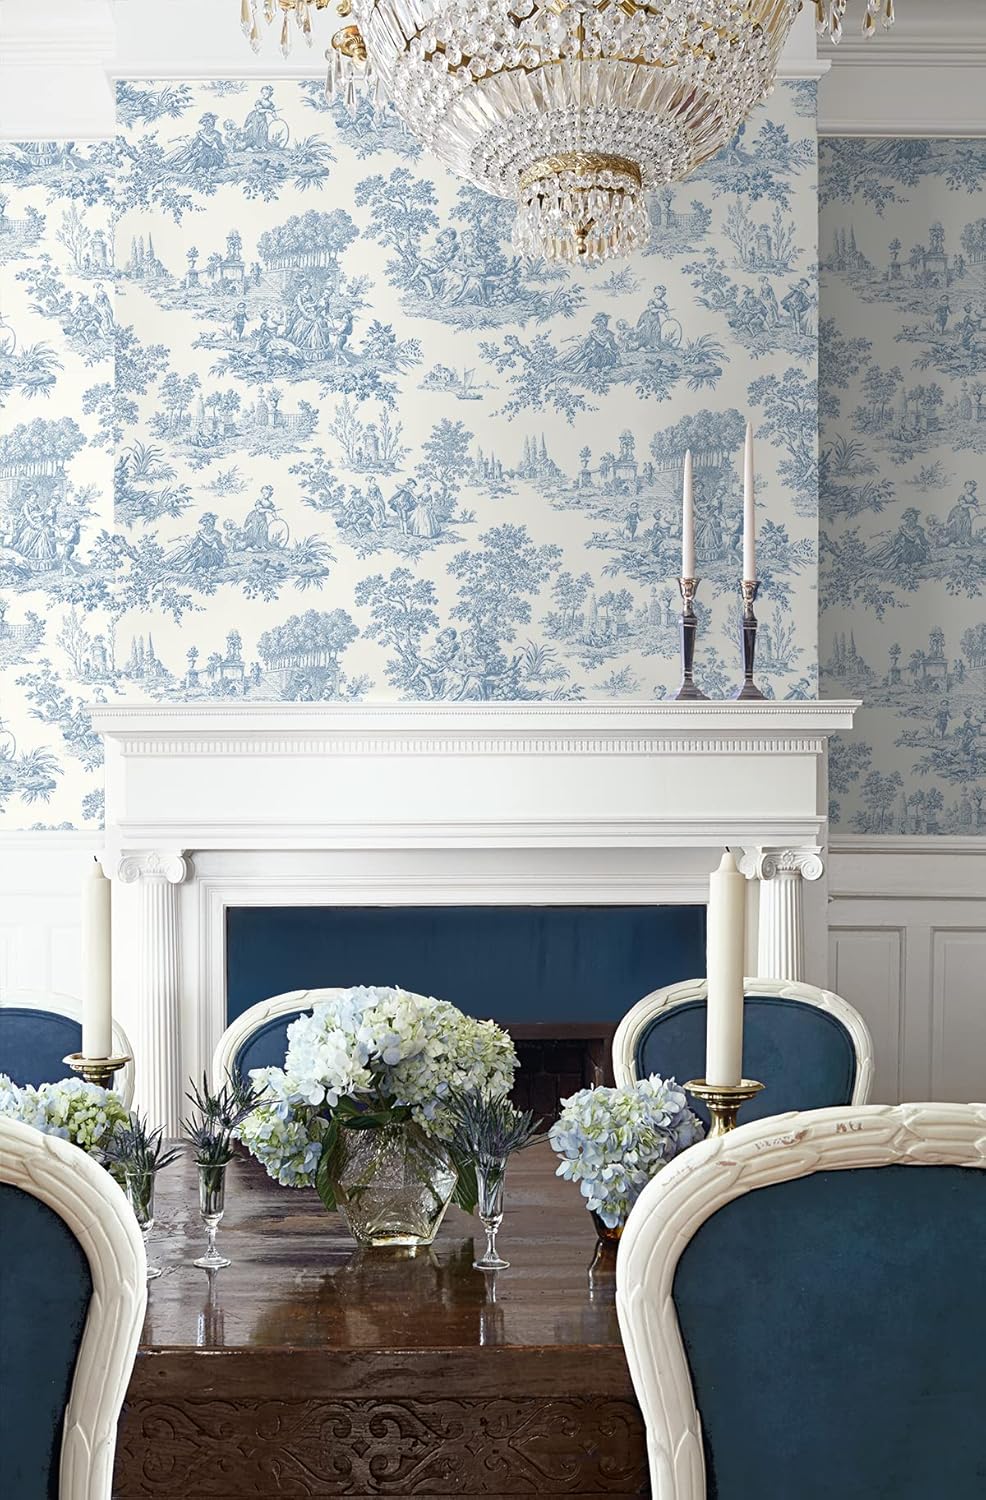
Peel-and-stick wallpaper is exactly what it sounds like: a decorative wall covering printed on a self-adhesive backing — you peel off a protective liner and press the panel directly onto your wall, with no paste, no soaking, and no professional installer required. It’s designed to come back off cleanly when you’re done, which is the whole reason renters love it. Done right, it can transform a flat rental bedroom into something that actually looks like yours — and come move-out day, you roll it off and walk away with your deposit intact. Done wrong, it can strip paint, leave ghostly adhesive residue, or bubble and peel within weeks, turning a creative project into an expensive landlord conversation. This guide is about landing in the first camp, every time.
If you’ve already bought a roll or two and have a wall in mind, you’re ahead of most people. But there are a handful of decisions — about surface prep, product type, and installation approach — that separate a clean, photogenic result from a regrettable one. Let’s work through them in the order that actually matters.
Your Wall Surface Is the First Decision, Not the Pattern
Most renters skip this step entirely. They fall in love with a print, order it, and then press it onto whatever wall they have. That sequence is why so many peel-and-stick installs fail — not because the product is bad, but because the substrate (the surface the wallpaper is going onto) wasn’t evaluated first.
The word “substrate” just means whatever your wallpaper will be touching. In a rental, that’s almost always painted drywall, and painted drywall comes in two very different conditions depending on finish.
The finish of your paint matters enormously. Flat or matte paint has a microscopically rough, porous surface. Adhesive grips it aggressively — which sounds good until you’re trying to remove the paper twelve months later and the paint comes with it. Eggshell, satin, and semi-gloss finishes are smoother and less porous, which means the adhesive grabs the surface firmly enough to hold the paper up, but releases more cleanly when you pull. Per the Wirecutter’s removable wallpaper review, eggshell and satin are the preferred base surfaces for peel-and-stick, and anything flatter than eggshell is a meaningful risk.
What if your walls are flat? You have three options: apply a single coat of eggshell paint over the target wall and let it cure for at least 30 days before installing (fresh paint, no matter the sheen, is adhesive’s enemy), use a barrier layer like paintable wainscoting panels or thin foam board, or choose a fabric-based peel-and-stick product that uses a gentler adhesive system. The third option is the most renter-practical.
Age and condition also matter. Walls with existing damage — hairline cracks filled with spackle, areas where paint has already started to peel at the seams — are higher-risk surfaces even with the right sheen. Apartment Therapy’s 2024 guide specifically flags previously patched walls as a common source of post-removal damage, because the patch compound isn’t as structurally bonded as the surrounding paint.
The 30-day cure rule. If your apartment was freshly painted before you moved in, Architectural Digest’s removable wallpaper overview recommends waiting a full 30 days before applying any adhesive-backed product. Even satin paint that appears dry can continue curing at the molecular level, and adhesive applied too early can permanently bond to under-cured paint.
Product Tiers: What $25 Gets You Versus What $80 Gets You
Peel-and-stick wallpaper isn’t a monolithic category — there are real material differences between the entry, mid, and upper ranges, and those differences directly affect deposit risk and longevity.
By the numbers:
| Price range | Typical material | Adhesive system | Pattern repeat options | Renter risk level |
|---|---|---|---|---|
| $25–$45/roll | Vinyl (PVC-based) | Standard acrylic | Basic | Moderate–High |
| $45–$65/roll | Woven or non-woven vinyl | Repositionable acrylic | Broad | Low–Moderate |
| $65–$80/roll | Fabric-faced or non-woven | Gentle repositionable | Broad + custom | Low |
The critical distinction at the material level is between PVC-based vinyl and non-woven or fabric-faced products. PVC vinyl is stiffer, slightly harder to align on a wall (seams show more), and uses a more aggressive adhesive that’s better suited to smooth, well-cured surfaces. Non-woven backings — a synthetic fiber mat similar to what’s used in high-end traditional wallpaper — are more forgiving, breathe slightly, and typically use a repositionable adhesive that can be peeled and re-pressed multiple times without losing grip.
Tempaper (our top pick in the $55–$80 range) is one of the most consistently reviewed brands in this space. Reviewers across The Spruce’s 2025 roundup and Wirecutter’s removable wallpaper guide both flag Tempaper’s repositionable adhesive and non-woven construction as the combination that makes clean removal most reliable. Chasing Paper falls in the same tier and carries a similar reputation for clean adhesion on standard rental walls — their patterns tend toward bolder, graphic designs and they’ve expanded their mural format significantly.
At the entry level (Walmart, Amazon marketplace), you’ll find vinyl-only products with a simpler adhesive. These aren’t automatically bad, but House Beautiful’s 2025 installation guide notes that lower-cost vinyl products show higher rates of edge lifting in humid environments and, when removed, more frequent reports of surface damage on walls with flat or older paint.
Pattern repeat is worth flagging here: a pattern repeat is the vertical distance before the design starts over. A small repeat (under 8 inches) wastes very little material. A large repeat (20+ inches) means every panel you hang needs to be aligned to a specific point in the pattern, so you trim a lot off each strip. The waste rule still applies here — plan to buy 15–20% more material than your raw wall square footage, and add another 10% if your pattern repeat exceeds 12 inches.
The Installation Variables That Actually Determine Your Deposit Outcome
Getting the product right is necessary but not sufficient. The installation itself introduces several deposit-risk variables that are easy to control if you know about them in advance.
Surface prep is non-negotiable. Before any panel touches your wall, clean the surface with a slightly damp cloth and let it dry completely. Oils from your hands, dust, and mild grime all reduce adhesion and cause premature edge lifting. Per House Beautiful’s installation guide, wiping with a slightly damp microfiber cloth 24 hours before install gives the surface time to dry fully without overcleaning.
Start with a level line, not the ceiling. Rental ceilings are almost never perfectly level, and following the ceiling edge as your reference will give you a subtly tilted installation that becomes more obvious as the eye tracks across multiple panels. Use a laser level (inexpensive at any hardware store) or a long bubble level to snap a straight horizontal reference line at the height of your first panel.
The seam question. Seams — where two panels meet — are the most visible failure point of any peel-and-stick installation. The technique that reviewers consistently credit for invisible seams is overlapping slightly and double-cutting: you overlap adjacent panels by about half an inch, then use a straight edge and a sharp utility knife to cut through both layers simultaneously. Remove the top trimming, then lift the edge of the top panel, remove the bottom trimming, and press both edges back down. You get a perfectly matched seam with no gap and no bulge. It requires a little confidence with a utility knife but it’s learnable on the first panel.
At removal time, go slow and go warm. The single biggest cause of deposit-threatening removal damage is rushing. Heat loosens adhesive — a hairdryer on a medium setting held six to eight inches from the wall as you peel back at a low angle (30 degrees or less) dramatically reduces the force required and the risk of paint pulling. Architectural Digest’s removable wallpaper overview specifically recommends the low-angle, heat-assisted technique for any panel that’s been up more than six months.
Document before and after. Take timestamped photos of the bare wall, with flash, before you install. Take the same photos after removal. If any question arises about pre-existing conditions versus installation damage, that photo record is your first line of defense.
The Decision Frame: If X, Then Y
By now you have enough context to make a confident call on your specific situation. Here’s how to apply it:
If your walls have flat or matte paint and you can’t repaint: choose a fabric-faced product with a gentle repositionable adhesive (Tempaper’s fabric line is the brand to consider here), limit your install to a single accent wall rather than a full room, and plan removal at the two-year mark rather than waiting until move-out day.
If your walls have eggshell or satin paint cured for at least 30 days: you’re in the optimal scenario. Any quality non-woven peel-and-stick product from the $45–$80 tier should perform well. Chasing Paper and Tempaper are both solid at this range.
If your pattern has a repeat over 12 inches: order at least 25% more material than your square footage calculation. Run the math before you order, not after.
If your wall has any pre-existing damage or previous peel damage: treat it as a flat-paint wall regardless of current sheen. The compromised surface is the risk factor, not the finish.
If your budget is under $45 per roll: the product can still work, but your surface prep and removal technique need to be exactly right. Don’t cut corners on the heat-assisted removal step, and check edges monthly to catch any lifting before it becomes a larger problem.
If you’re in a high-humidity room (bathroom, kitchen-adjacent wall): peel-and-stick is genuinely not the right product category. Humidity causes adhesive migration and edge lifting no matter the price point. Consider a traditional temporary solution like fabric wall hangings or a removable panel system instead.
The deposit math is simple: a quality roll of Tempaper runs $65–$80. A security deposit dispute over paint damage can cost you hundreds to thousands. The premium tier isn’t the splurge — skipping the sample and surface check is.
One final rule the site lives by: order a physical sample before you commit to a full order. Every brand listed here offers samples in the $5–$15 range. Press the sample to your actual wall, in your actual light, and leave it for 48 hours. Check the edges. That 48-hour sample test is the only way to know, with your specific wall and your specific paint, whether you’re in the clean-removal camp or the landlord-conversation camp.