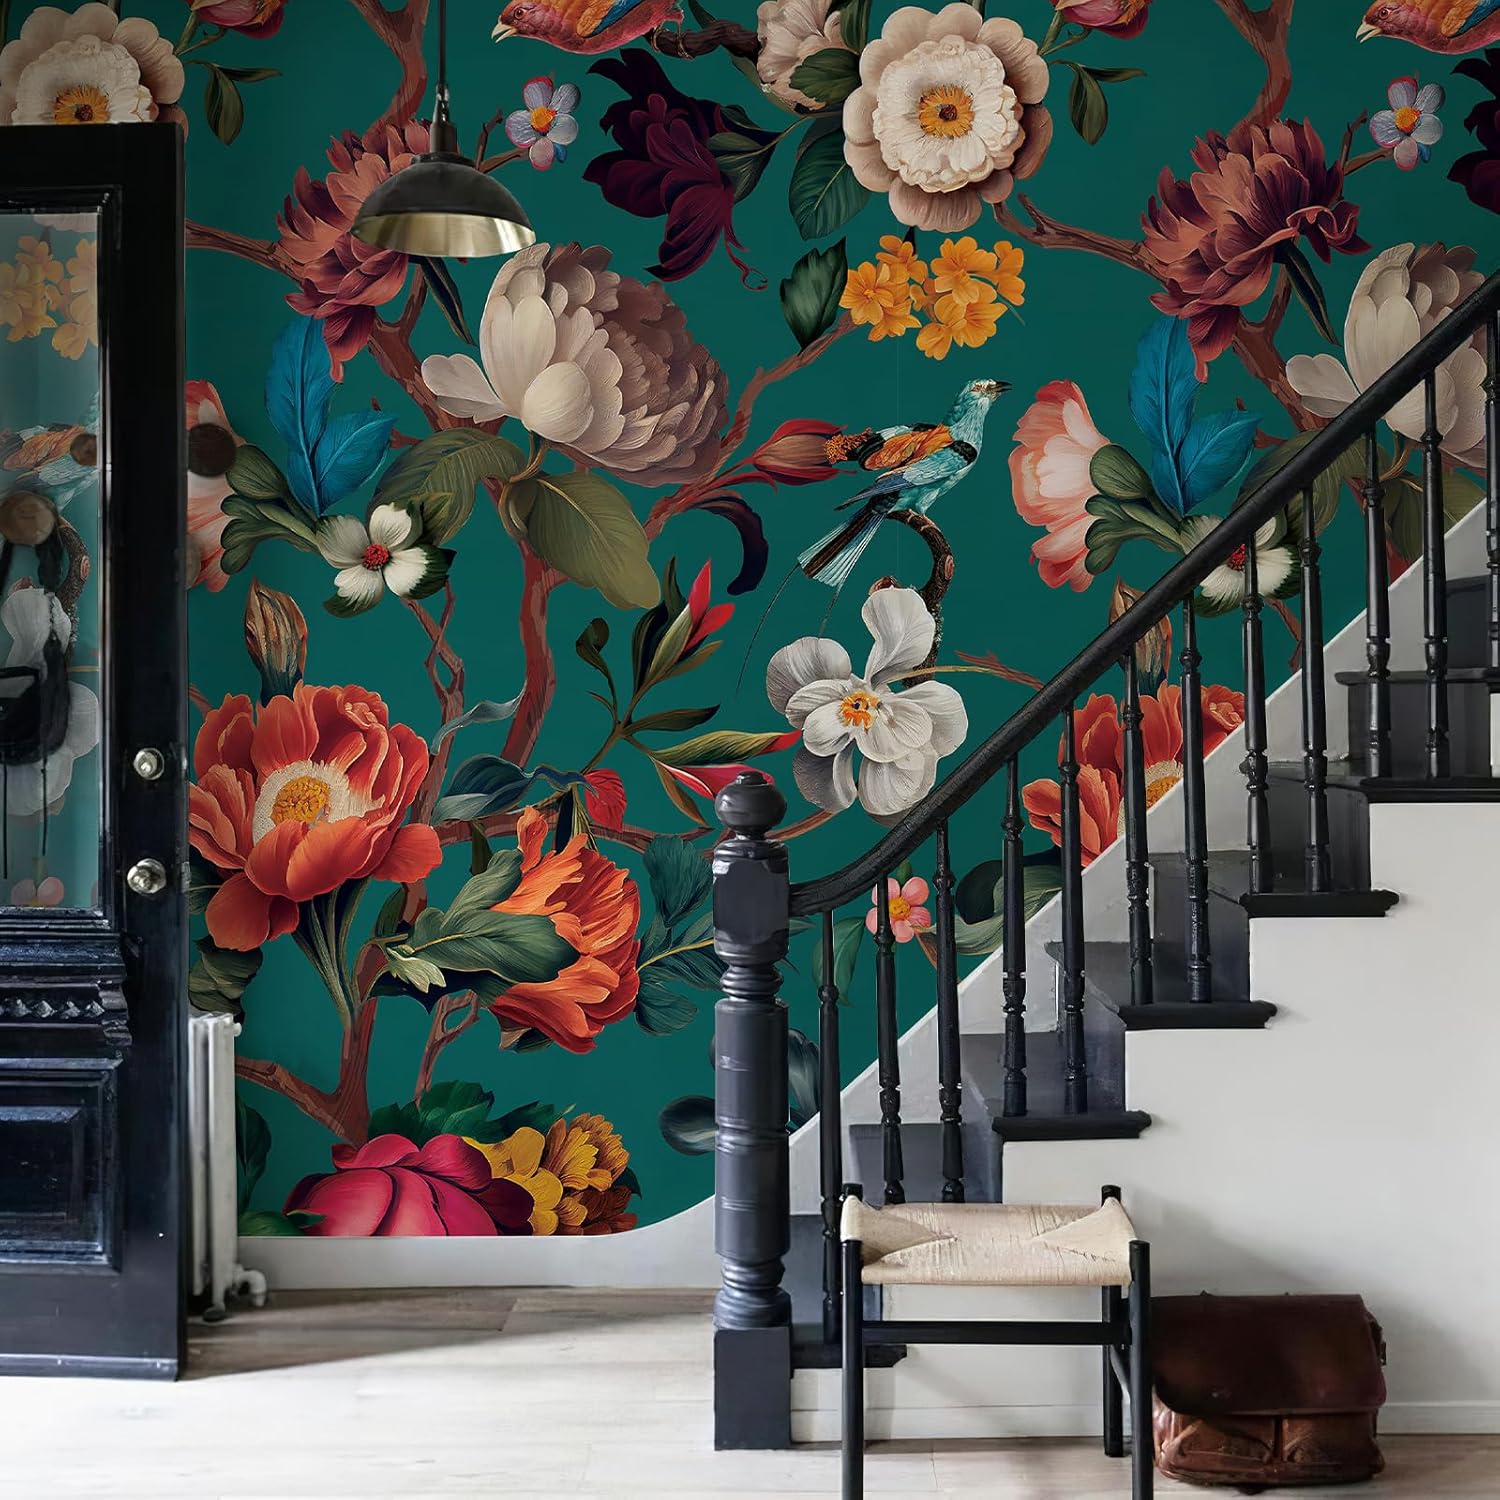
A peel-and-stick mural is exactly what it sounds like: a large image — a tropical canopy, an abstract landscape, a vintage map — printed across multiple adhesive-backed panels that you apply directly to your wall, one strip at a time, no paste or primer required. Unlike traditional wallpaper (which needs water-activated adhesive or a separate glue step), peel-and-stick panels have a pressure-sensitive backing you peel away as you go, and most come off cleanly when you’re ready to change things up. That repositionability is the product’s main selling point. But a mural isn’t a small patterned repeat — it’s one continuous picture that has to line up across every seam, wall to wall, floor to ceiling. That’s where the complexity lives. This guide walks you through the decisions that actually matter before you order: how to measure correctly, how to evaluate seams, how much extra material to buy, and where the most common installations go sideways.
| EDITOR'S PICK[Zeeko Vintage Floral Wallpaper](https://www.amazon.com/dp/B0CDWP69W4?tag=greenflower20-20)… | Mid-tier[HueBurst Vintage Forest Wall Mu](https://www.amazon.com/dp/B0F28XWFSK?tag=greenflower20-20)… | Budget pick[Misty Forest Wallpaper Peel and](https://www.amazon.com/dp/B0FLDMG75Z?tag=greenflower20-20)… | |
|---|---|---|---|
| Width | 148" | 87" | 82" |
| Height | 98" | 110" | 57" |
| Pattern | Floral | Forest | Forest |
| Price | $179.99 | $109.00 | $59.99 |
| See on Amazon → | See on Amazon → | See on Amazon → |
The Sizing Problem Is More Serious Than It Looks
Most people measure their wall once, compare that to the mural’s listed dimensions, and call it done. That’s the first mistake.
Start with your actual wall, not an approximation. Measure width and height in at least three places — walls are rarely perfectly square. Measure the width at the floor, at mid-wall, and at the ceiling line. Measure height at both corners and center. Record your largest numbers. That’s your ordering dimension, not your average.
Now account for the floor-to-ceiling reality: most murals are sold as a fixed total height (commonly 98–108 inches, marketed to cover standard 8–9 ft ceilings). If your ceiling is 9’2” — a common situation in older homes and new construction with taller plates — you may clip the top of the mural or need to order a custom height. Always confirm the mural’s listed height against your actual floor-to-ceiling clearance before clicking buy.
Pattern placement matters even in a mural. A mural of a forest canopy looks very different if the horizon line falls at eye level versus at your knee. Most brands publish a schematic showing where the focal point sits in the composition. Ask yourself: where will this visual anchor land on your wall, and does that work with your furniture placement? If your sofa back sits at 34 inches, you probably don’t want the ground plane of the scene reading at 18 inches.
The waste math you can’t skip. Wallpaper Direct’s guide on pattern repeats notes that even murals with a “no repeat” label still require trim cuts at the edges, ceiling, and baseboards. Plan for 10–15% extra on total panel area for those cuts, plus an additional buffer if your wall has outlets, windows, or other interruptions. If the mural comes in panels of a fixed width (usually 24” per panel), you may be ordering a panel you’ll partially discard just to cover the last 6 inches of wall. That’s not a brand markup — it’s geometry.
By the Numbers
| Scenario | Recommended Overage |
|---|---|
| Clean, uninterrupted accent wall | 10% above wall area |
| Wall with 1–2 windows or outlets | 15–20% |
| Wall with door or fireplace cutout | 20–25% |
| Non-square room or angled ceiling | Order full panel set + one spare panel |
Seams: The Make-or-Break Variable
A single-panel peel-and-stick is nearly seam-free. A mural spanning 120 inches of wall almost certainly isn’t. Understanding seam types before you buy will save you from the most common aesthetic disappointment in this product category.
Butt seams vs. overlap seams. Most quality mural brands — Tempaper, Chasing Paper, and mid-premium lines like those sold through Burke Décor and Wallpaper Direct — use a butt-seam installation, meaning panels are pressed edge-to-edge with no overlap. When aligned correctly, a butt seam is nearly invisible, especially in a photographic or watercolor-style mural where the image creates optical continuity. Overlap seams (where one panel rides over another) are a shortcut that creates a visible ridge — you’ll see it in raking light, and so will everyone else. If the installation instructions show an overlap method, that’s a flag.
The wall surface under the seam matters as much as the seam itself. The Spruce’s overview of peel-and-stick installation consistently emphasizes that seams fail — or lift — most often because the substrate (the surface the paper sticks to) isn’t adequately prepared at the join point. Any ridge, texture, or paint buildup at the seam line will telegraph through. On a freshly painted flat or eggshell surface in good condition, butt seams disappear. On a wall with semi-gloss paint, heavy texture, or fresh paint under 30 days old (the adhesive needs cured paint to grip properly), seams lift. This is the substrate conversation most buyers skip.
Seam positioning is a design decision. When you’re configuring a mural that comes in fixed-width panels, you can often choose where the seams fall. Positioning seams in visually busy areas of the composition — the trunk of a tree, the edge of a cloud bank, a vertical shadow line — makes them read as part of the design. Positioning a seam in the middle of an open sky or a flat color field is asking for trouble. Look at the mural’s layout schematic and ask yourself where you’d naturally draw a vertical line. That’s your seam placement target.
How to check before you commit. Order a physical sample — not a digital preview, an actual printed sample — and press it against your wall. Apartment Therapy’s guide on peel-and-stick wallpaper flags this as the single most important pre-purchase step, noting that color calibration between screen and print, plus the actual texture of the material, can differ significantly from what you see online. No exceptions. A sample for a $400 mural costs $5–15. A mural you hate costs the installation too.
The Installation Steps Where Most Projects Fail
You’ve measured correctly, sampled the material, and planned your seam placement. Here’s where execution diverges from plan.
Wall prep is 80% of the outcome. Clean the wall with a mild solution and let it dry completely — 24 hours minimum. Architectural Digest’s buyer’s roundup notes that adhesion failures and bubble formation in peel-and-stick installations are overwhelmingly caused by applying panels to walls with residual grease, humidity, or off-gassing paint. In kitchens and bathrooms, this is especially critical: the combination of moisture and cooking vapor makes these spaces genuinely marginal for peel-and-stick long-term, and most mural brands note this in their product specs.
Start plumb, not from the corner. Corners are almost never truly vertical. If you start your first panel in the corner and work outward, any wall deviation compounds across every subsequent panel. Instead, find a true vertical using a level, mark a plumb line (a light pencil mark or chalk line) at the width of your first panel inset from the corner, and align your panel to that line. House Beautiful’s piece on installation mistakes identifies the “start from the corner” error as the most common cause of mural images that appear to tilt across the wall.
Release the backing gradually, don’t peel it all at once. Working with a full-height panel — 96 to 108 inches — with the entire backing removed is an adhesion disaster waiting to happen. The panel will fold onto itself, pick up dust, and create bubbles that are nearly impossible to fully eliminate. Peel 12–18 inches at a time. Press, smooth with a plastic squeegee or a credit card, then peel and continue. Work top-down.
The squeegee direction matters. Always work from the center of the panel outward toward the edges — not top-to-bottom in a single stroke. The goal is to push air toward the nearest edge, not trap it in the middle. For photographic murals printed on thinner vinyl or paper-based substrates, aggressive squeegee pressure can actually stretch or distort the panel if it’s not fully adhered behind the squeegee. Light, consistent pressure with a soft-edged tool is better than one hard pass.
Seam alignment: do it before you commit the lower half. When you’re ready to install your second panel, align it to the first at the top — match the image — then let it hang without pressing the bottom half down. Step back and check the alignment across the full height. If you need to micro-adjust, you still can. Once you’ve pressed the full panel into the wall, repositioning becomes progressively harder, especially on textured or painted surfaces that create mechanical grip.
What to do about bubbles that don’t smooth out. Small bubbles that appear immediately after installation often resolve on their own within 24–48 hours as the adhesive settles and air works its way to the edge. Bubbles that persist after 48 hours are a different problem — usually trapped air over a surface irregularity or a contaminated spot on the wall. Most mural brands allow you to gently lift the panel from the nearest edge, smooth the affected area, and re-adhere. Don’t try to puncture and press; that leaves a permanent dimple in the material.
The Decision Framework: If X, Then Y
You’re evaluating whether a peel-and-stick mural is the right call for your project. Run through this:
If your wall is freshly painted (under 30 days old): Wait. Adhesion on uncured paint is unreliable and voids most brand warranties. The Spruce’s installation guide cites 28–30 days post-paint as the minimum cure time for latex paint before applying any pressure-sensitive wallcovering.
If your wall has a heavy texture (orange peel, knockdown, or deeper): Peel-and-stick murals are likely to disappoint. The adhesive bridges over texture peaks rather than conforming to the surface, creating seam lift and bubble fields. Consider a traditional paste-up paper or a professional skim coat of the wall before application.
If your wall is smooth, painted with flat or eggshell, and at least 30 days cured: Peel-and-stick murals perform well here. Order your sample, confirm color, and proceed.
If the installation spans more than 120 inches or requires more than four panels: Build in a seam-placement session before you open a single panel. The alignment tolerance across a wide mural is unforgiving. If the project budget allows, a single day of professional installation time is worth it at this scale — the labor cost is modest relative to the mural itself, and the alignment experience is genuinely different from what you get working alone.
If the room is a bathroom, laundry, or kitchen: Check the brand’s humidity rating explicitly. Most peel-and-stick murals are not rated for high-moisture environments. Brands like Tempaper have moisture-resistant lines; standard product lines are not interchangeable with those. Wallpaper Direct’s substrate guide covers this distinction clearly.
If you’re buying for a client or a rental with resale implications: Order one extra panel. Dye lots shift between production runs, and you cannot reliably match a panel ordered six months later. That spare panel, stored flat and away from light, is cheap insurance against a future repair that’s otherwise unmatched.
The mural category has matured enough that a well-executed peel-and-stick install is genuinely indistinguishable from a pasted installation — at the right scale, on the right wall, with the right prep. The gap between a great result and a disappointing one almost always closes before the first panel goes up.